Cheaper, More Versatile, Lighter Than Steel Cylinders
First published in Flexo & Gravure Global Magazine, December 2013 issue.
Written by Harper GraphicSolutions Midwest/West Coast Technical Graphics Advisor, Sinesio Garduno
Setup, makeready, changeover—whatever you call it, everyone knows that highly scrutinized periods when the press is not producing a sellable product. Hours, minutes, even seconds spent on setting up the press for its next job is wasted time. How does a printer improve on this? In short: Sleeves. Since their invention, setup times have decreased drastically—from hours to minutes.
SLEEVE BENEFITS
Sleeves have revolutionized press changeovers. They are lightweight and very easy to maneuver, with little effort needed. In addition, sleeves have become so price competitive that the printer can now leave a job mounted for future printruns. This means saving money on mounting tape and needing less labor. This was impossible with steel cylinders, because of printing plates’ susceptibility to being crushed. The price and size of steel cylinders also would lead printers to buy only what was necessary.
Converters had to have extra mounter proofers and platemounter personnel on hand because jobs had to be stripped and remounted every time. Moving a steel cylinder in and out of a platemounter proofer required either a second person or a hoist system. Along with being a potential safety issue, this was a big problem because some pressrooms were run with minimum personnel.
 Today’s sleeves are back savers and time savers for most operations. Not many operators in the printing industry were able to lift a solid steel cylinder without developing spinal issues or needing a hoist system. By comparison, moving a sleeve in and out of a mounter is easily done—safely—by a single person. Just like a press station, mounters have a stationary mandrel on which one person can easily load sleeves.
In the past with older printing presses, buying steel cylinders for every size repeat print job was the only option. Most printers, due to storage and cost concerns, would opt not to buy any spare cylinders of the same size. The person doing the scheduling had to take this into account, because of the potential downtime incurred while waiting for a job to be mounted.
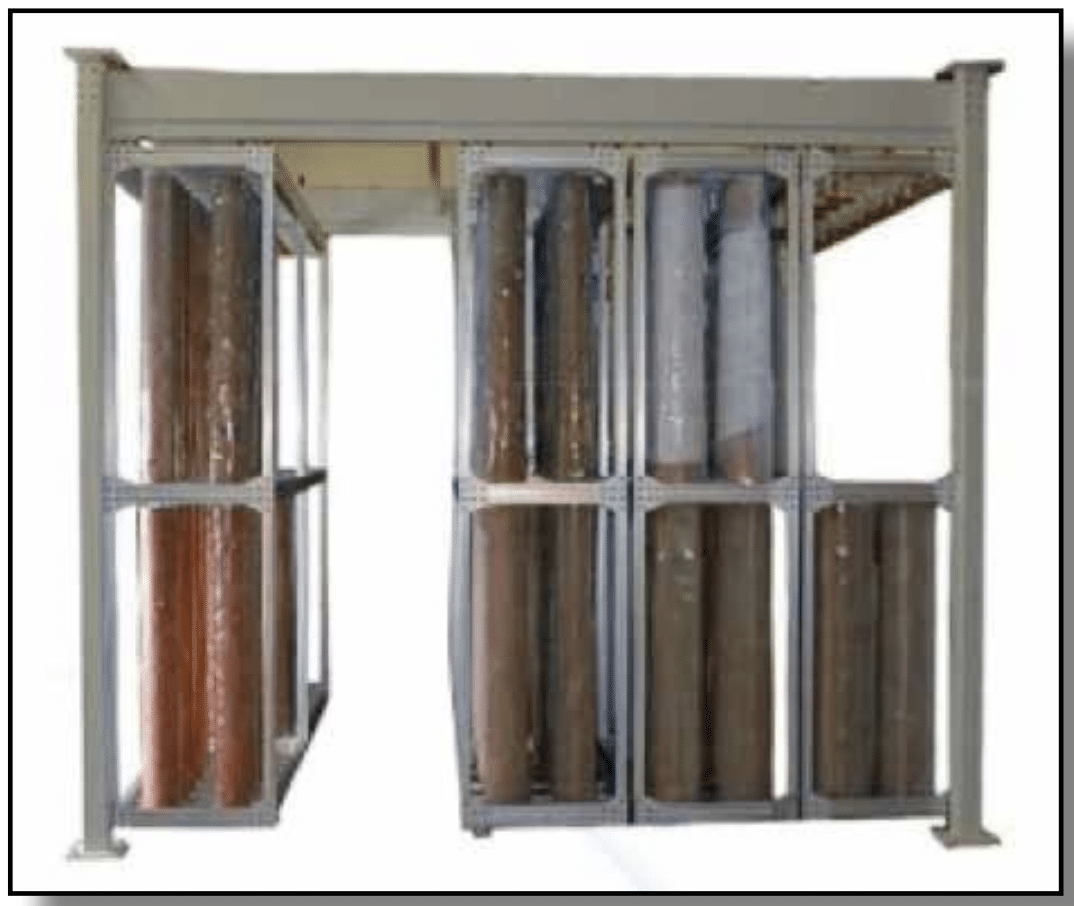
When a sleeve is stored, whether a plate is still mounted or not, it is best to stand it on its end (vertically). Storing it horizontally, suspended by a pipe from the inside can cause the sleeve to lose its round shape.
While today’s sleeves are still a sizable investment, they are cheaper than a steel base, especially if a printer can utilize a thin-walled printing sleeve. This means a converter can afford a larger inventory of sleeves. No longer are presses left idling, waiting on same-size cylinders for the next job to be mounted.
EARLY PROBLEMS & SOLUTIONS
Much like smartphones have done to communication today, the newest printing sleeves have revolutionized the flexo industry. And much like cellphones of yesterday, when they were first introduced, printing sleeve technology had a lot of refining to do.
When sleeves first started making their footprint in flexographic printing, I remember lots of trial and error. First, we did not have a gearless press and were sleeving steel cylinders outside of the press and then transferring them to press stations. Old steel cylinders were cut back for the thicker .105-in.-thick plate and with thinner plates we had to use build up to continue their use. Even though cumbersome, sleeving steel cylinders was a necessity due to plate technology and the fact that a lot of converters were switching from 0.105-in. thick plates to 0.065-in. plates.
We had many different thicknesses of sleeves and also had bridge sleeves (repeat builders), which cut our floor space for storing steel cylinders. Print sleeves could be stored tighter together and didn’t require big heavy metal steel racks and hoists.
Nevertheless, we still got a good workout sleeving cylinders and prepping them for the press. One of the biggest mistakes was to push a sleeve beyond the air holes on a steel cylinder or bridge sleeve that had no stops on the end. When this occurred, we had to use our ingenuity to try and get them off without causing any damage to the sleeve.
CUTTING SLEEVES
Another initial obstacle to proper sleeve use, which we still see today, is a lack of proper training. One example is the use of a razor blade to trim back mounting tape. Cutting sleeves with razor blades will cause print defects and weaken their rigidity and stability. Using a Stanley knife or razor blade on a sleeve is not recommended, but in the real world sometimes there is no other option. In this case, it all comes down to training how and what to use to trim mounting tape or plate edges
If possible, look at a sleeve supplier that offers a mounting tape cutline on sleeves. Sleeves cannot be sanded down for razor blade cuts like a steel cylinder can. This will end up changing the Total Indicated Runout (TIR) and diameter tolerances. Using a pre-made cut line on a print sleeve will help make sleeve inventory last longer and maintain print quality.
KEEPING CLEAN
Residue or ink buildup on sleeve ends is another common issue. Inks and solvents can migrate through a sleeve’s composition and start to weaken the edges. A dirty sleeve will be a lot more difficult to put on and take off a mandrel. Of course, this increases setup time and that’s exactly why it’s imperative that any debris gets cleaned off.
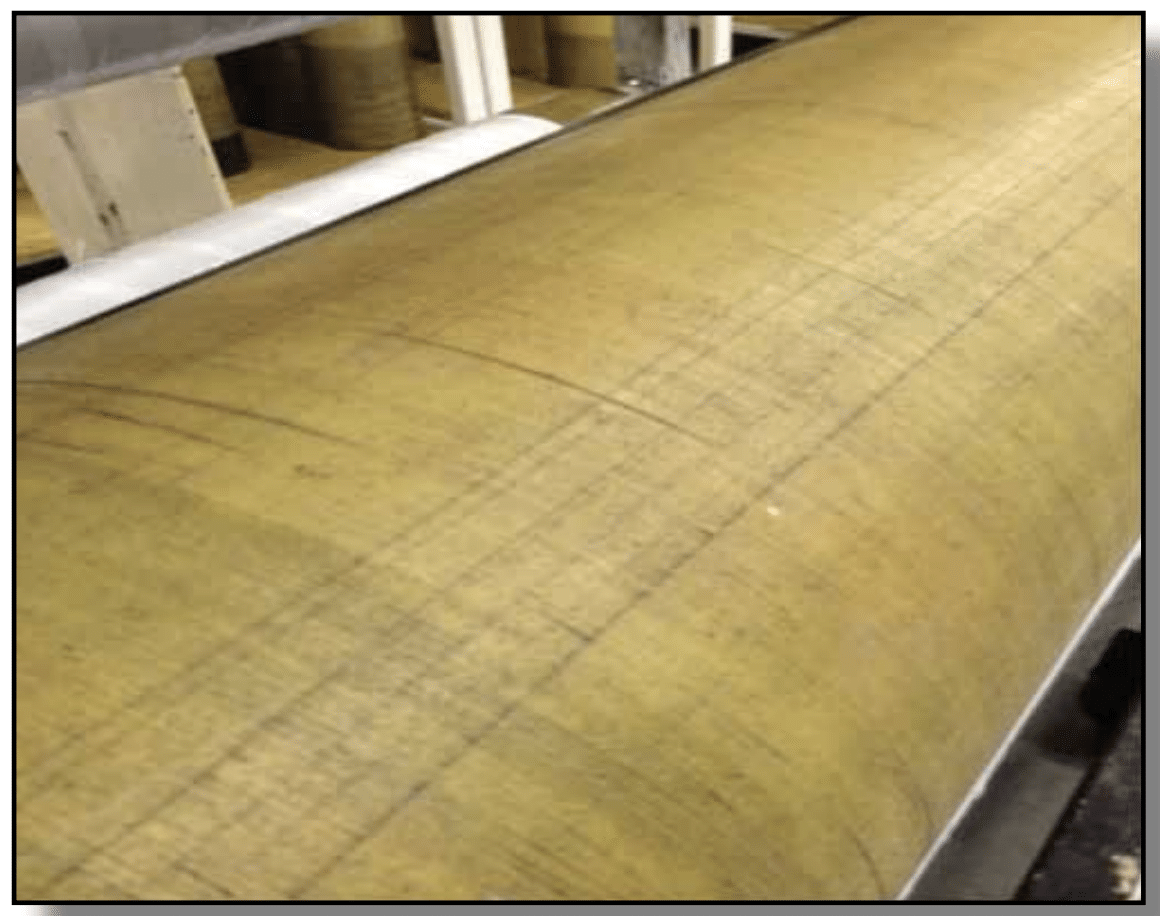
Deep cut lines throughout the entire face of a plate sleeve will affect print quality and render the sleeve useless.
Sleeves are very easy to clean. Implement cleaning procedures and you will see a long life and performance from sleeves. This includes any tooling the sleeve comes in contact with—the mandrel and splash guards, for example. Press deck mandrels need to be cleaned and properly maintained to consistently accept the mounting of the sleeve; periodical checks of the mandrels should be done to ensure this. Make sure air holes get cleaned and PSI is set to the OEM’s recommended settings.
build up on them and when this happens, both the plate and anilox sleeve can be damaged. Ensure any other guards near or next to a sleeve never come in contact with it, as this can cause irreparable damage. When it comes to cleaning a sleeve through a machine, it is imperative that the ends of sleeves get sealed off to avoid any cleaner migrating through a layer. This is especially critical when it comes to anilox sleeves—these have an aluminum cladding and most cleaning chemicals are caustic to aluminum.
STORAGE, SPACE & SETUP
When a sleeve is going to be put away for storage, whether a plate is still mounted or not, it is recommended that it is stored standing on its end (vertically). When it is stored horizontally, suspended by a pipe from the inside, the positioning can eventually cause the sleeve to lose its round shape. This is especially critical for an anilox sleeve, due to the inner expansion layer that can be flattened over time.
When unloading a sleeve from a horizontal position, it is also very common for the sleeve to drop and collide with those stored below it. These collisions will typically cause dings on a ceramic anilox face and lead to future corrosion or scoring issues.
Because sleeves are so lightweight and easy to maneuver, this is another potential issue in the pressroom. Often sleeves get end damage from being placed down too hard on concrete floors or not having a rubber mat on their storage rack. Sleeves are a lot more susceptible to getting damaged due to their being lightweight and as such, they cannot be treated as steel cylinders. Unlike steel cylinders, sleeves cannot be repaired; only replaced.
One step that I always see is the rocking of sleeves up and down or side-to-side to get them started on a mandrel. If this becomes an issue, check the cleanliness of the sleeve bore and the mandrel. When mounting a sleeve onto a mandrel, line them up and make sure the air is properly set to OEM specification. Push and twist the sleeve to get through and over the mandrel air holes. Rocking the sleeve to get it started will negatively affect proper fit and circularity, both contributing to TIR issues.
CONTINUED EVOLUTION
There have been many improvements in the technology in the structure of today’s sleeves. In the past, one of the biggest issues was the sleeve expanding and contracting at different speeds. There are many different construction offerings of print sleeves today, varied by manufacturer.

Layers of a Harper anilox sleeve structure.
Choosing the proper sleeves depends on the application and what equipment is on hand. If given a choice, explore a print sleeve manufactured with a non-woven, resin-saturated construction. These sleeves are built for maximum performance and stability at any speed. Some bridge sleeves now also come with a replaceable end slot for locking to the mandrel. No longer do you have to replace a whole bridge sleeve after the notch wears and starts affecting register; you only need to flip or replace the worn end ring. This is a great new costsaving feature available on some bridge mandrels today.
With new gearless presses it is a breeze to sleeve up a press with fixed-base mandrels in each print station. Setup times to prepare bridge sleeves, plate sleeves and anilox sleeves have been cut from hours to minutes. Today’s sleeves are capable of holding the tightest register and printing consistent dots without any high or low spots at very fast speeds.
 Print sleeves have tuned flexographic printing to a higher level of quality and made pressrooms much more profitable. While sleeves can increase throughput, they are more susceptible to damage in everyday handling. However, with proper care and training they will be the greatest asset you will make to your pressroom.
 About the Author: Sinesio Garduno is the Midwest/West Coast technical graphics advisor for Harper GraphicSolutions. He has more than 23 years experience in the flexographic industry and has hands-on experience on all aspects of flexible packaging production from start to finish.
To view the original FLEXO Magazine article click HERE.


